English
 Español
 Português
 Русский
 Deutsch
 Francés
 العربية
 한국어
한국어
 Türk
Türk
 日本語
日本語

Why Is Glass Dry in the Center but Still Wet at the Edges?
Why Is Glass Dry in the Center but Still Wet at the Edges?
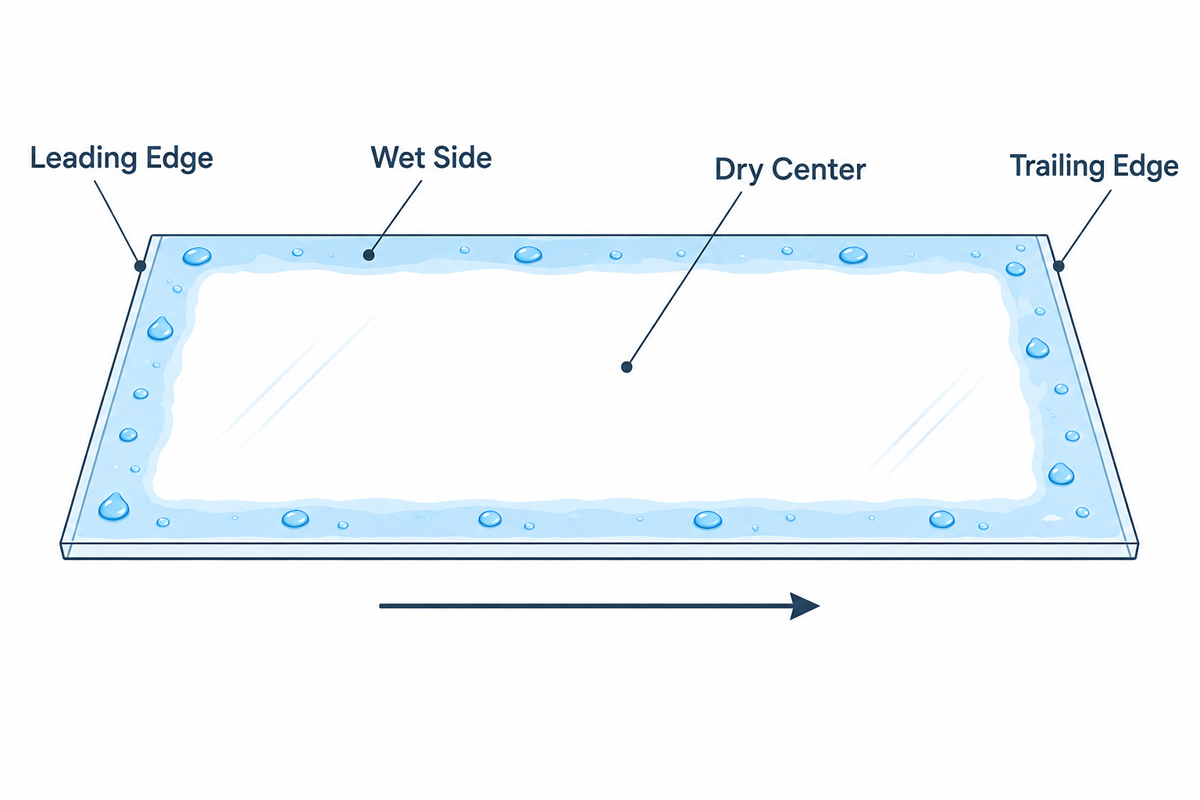
If the center of a pane leaves the washer dry while the edges still carry water, do not immediately increase the heat or change several settings. First, record exactly where the moisture remains. A wet trailing edge, one consistently wet side and droplets around all four edges do not necessarily have the same cause.
Start with the defect pattern. Then check water carryover, airflow, the air-knife area, glass position and conveyor speed—one item at a time. This approach is usually faster than adjusting the entire glass washing machine without a clear diagnosis.
Map the Wet Area Before Opening the Machine
Use one clean test pane that is within the machine’s approved processing range. Mark the leading edge, trailing edge and operator side with a removable identifier that does not touch a sensitive coating.
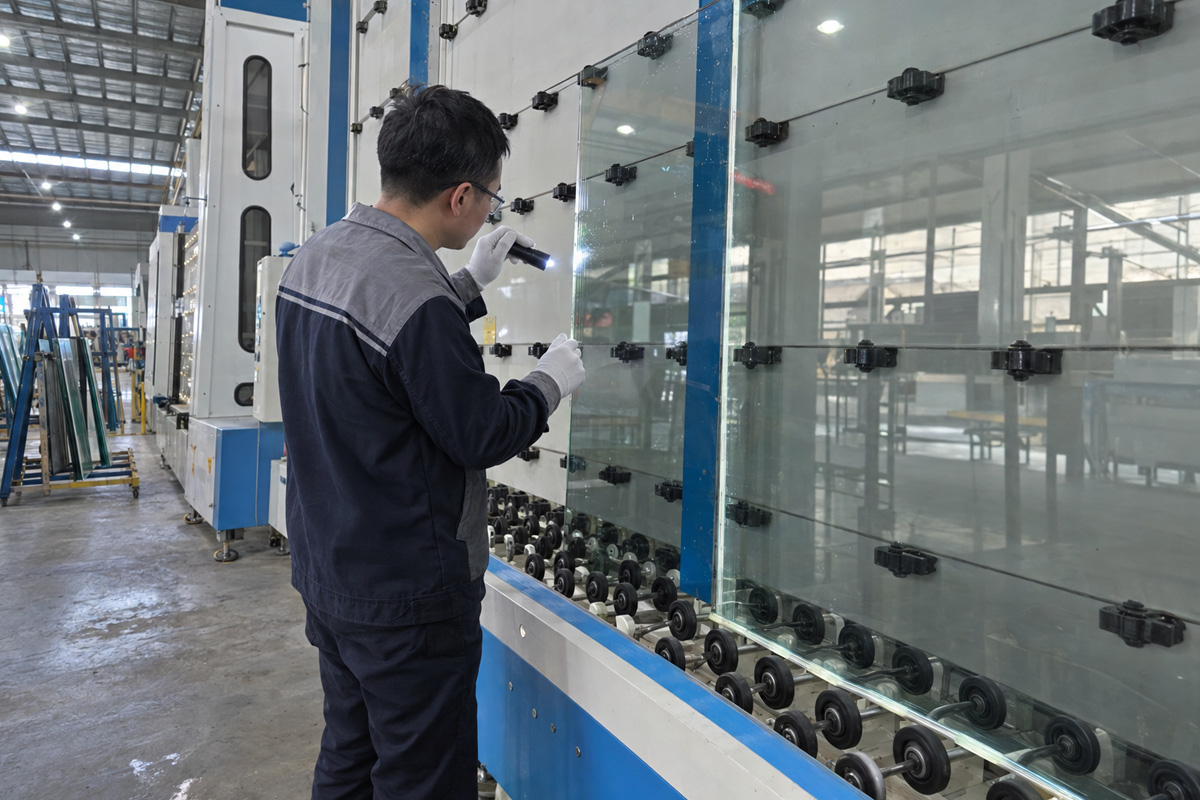
Allow the washing and drying sections to reach their normal operating condition before feeding the pane. Inspect it immediately after it exits, using strong light from an angle. Do not wait until the remaining water has dried into a mark.
The location of the water provides the first clue:
| What you see | Where to look first |
|---|---|
| Only the trailing edge is wet | Water carryover, final roll contact and drying time |
| One vertical edge is repeatedly wet | Glass position, air distribution and air-knife coverage |
| All four edges hold droplets | Water removal before drying and overall airflow |
| Only large panes have wet edges | Effective drying width, pane position and production speed |
| The glass looks dry but develops white marks | Final-rinse water quality or contamination |
This table is a starting point, not a final diagnosis. Confirm the cause with a controlled test before making an adjustment.
Follow the Air Path From the Blower to the Glass
A strong blower sound does not prove that air is reaching every part of the pane evenly.
After isolating the machine according to its manual and the factory’s approved safety procedure, inspect the accessible blower intake, filters, ducts or hoses and the air-knife area. A restricted filter can reduce available airflow. A loose connection can lose air before it reaches the drying section. Dust or residue along an air-knife slot may disturb one part of the air curtain.
Also check whether the drying components are in the specified working position. Do not copy an air-knife gap or angle from a different washer model. The correct position should come from the manufacturer’s instructions for the actual machine.
Avoid forcing wire, tools or compressed air into an air-knife opening unless the machine manual specifically permits that cleaning method. An improvised repair can change the slot or push contamination deeper into the air path.
Check How Much Water Enters the Drying Section
Sometimes the dryer is blamed for water that should have been removed earlier.
Watch the pane as it leaves the final rinse and enters the drying section from a safe observation point. If a heavy line of water is already moving toward one edge, inspect the approved accessible areas around the final rollers, spray direction, drainage and tank overflow.
A damaged or contaminated contact roll may leave more water on part of the pane. A misdirected spray can also keep adding water near the exit of the washing section. Excessive foam is another useful observation to record because it can behave differently from clean rinse water.
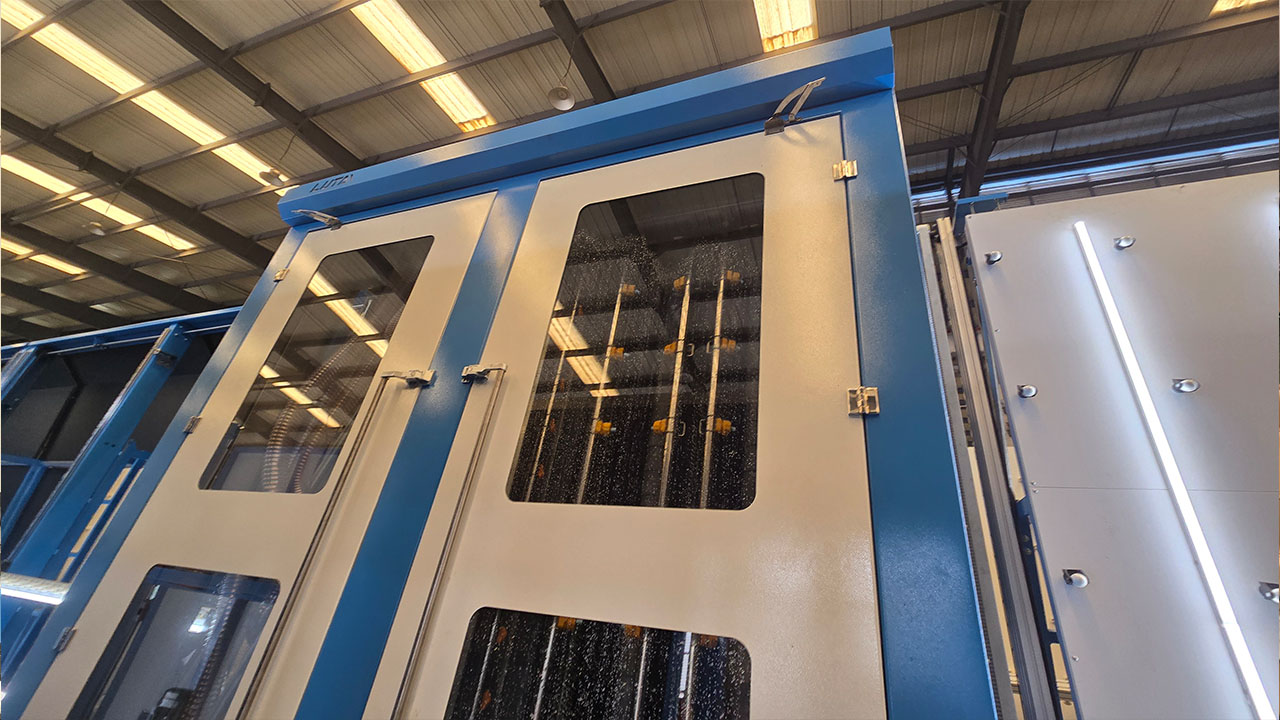
Factories comparing equipment for coated or architectural glass can review the configuration of a horizontal Low-E glass washing and drying machine. The final selection should still be based on actual glass samples, working width and downstream requirements.
Find Out Whether Pane Size or Loading Position Changes the Result
Ask a simple question: does every pane leave wet edges, or only certain sizes?
A wide pane may expose an airflow difference that is difficult to see on a smaller test piece. A narrow pane that is always loaded on the same side may repeatedly pass through a less effective part of the drying area. Different glass thicknesses can also require an approved machine adjustment.
Run the same test pane in its normal loading position and then in another permitted position. Keep the speed and other settings unchanged. If the wet area moves with the pane, the cause may be related to the glass itself or its position. If the wet area remains at the same location inside the machine, inspect the corresponding fixed area.
Only use loading positions allowed for the machine. Do not place narrow or undersized glass where it lacks proper support.
Use Speed as a Test, Not as the First Explanation
Reducing conveyor speed may improve drying because the pane spends more time in the drying section. However, that does not prove speed created the original fault.
Record the current speed first. Then, if permitted by the operating procedure, make one controlled reduction and run another identical pane. If the edges become dry, the test shows that the process has limited drying margin. The next step is still to find out why—restricted airflow, excessive water carryover, close pane spacing or a setting that does not suit the current glass.
Glass should not stop inside the washing or drying section. Make sure airflow and water delivery have stabilized after a shutdown or alarm before restarting production.
Distinguish Remaining Water From a Dried Water Mark
A wet edge and a mineral mark can look similar after the pane has been standing for several minutes.
Inspect the pane as soon as it exits. If no liquid is visible but a pale outline remains, check the final-rinse condition and contamination sources. Use only a spot-cleaning method approved by the glass or coating supplier. If the mark can be removed, the problem may concern rinse quality rather than incomplete air drying.
Do not apply one universal water specification to every product. Follow the processing guide for the exact glass or coating being washed.
A vertical glass washer and dryer may require a different observation and loading approach from a horizontal washer, but the same diagnostic rule applies: record the pattern before changing settings.
Make the First-Pane Check Part of Daily Production
A short inspection at start-up is easier than discovering wet glass after spacer placement.
Operators can check:
Whether the blower and water systems have reached normal operation.
Whether the first pane is clean and dry on both surfaces.
Whether the leading, trailing and side edges are free of droplets.
Whether representative large and small panes produce the same result.
Whether any speed, position or maintenance change has been recorded.
What Information Should You Send the Equipment Supplier?
A photo of one water spot is rarely enough for remote diagnosis. Send the machine model, glass size, thickness, glass type, loading position and operating speed. Explain whether the problem affects every pane or only certain orders.
A short video should show the complete path from the final rinse through the dryer and onto the output section. Also report recent filter cleaning, air-knife maintenance, roller replacement or setting changes.
If the washer operates as part of an insulating glass production line, include the upstream and downstream operating sequence. Pane spacing or an interruption elsewhere on the line may change how glass moves through the washer.
Frequently Asked Questions
Why is only the trailing edge of the glass wet?
Water may be collecting at the trailing edge before the pane reaches the dryer, or that edge may receive less effective drying time. Inspect the final water-removal point, pane spacing and air delivery before changing several settings.
Should we reduce the washer speed first?
Use a lower approved speed as a controlled test, not as an automatic repair. If the result improves, continue checking why the normal setting no longer provides enough drying margin.
Does increasing airflow always solve wet glass edges?
No. More air will not correct a blocked section, poor air distribution or excessive water entering the dryer. Adjust airflow only according to the machine manufacturer’s procedure.
Why does the problem appear only on large glass?
Large panes use more of the machine’s working area and may reveal uneven drying across its width or height. Compare different permitted loading positions and record whether the wet area remains fixed.
Can wet glass continue directly to IGU assembly?
Glass should meet the relevant supplier’s cleanliness and dryness requirements before assembly. If water remains, pause the affected production and identify the cause rather than allowing the defect to move downstream.
Final Check Before Restarting the Order
Do not judge the repair from one convenient piece of glass. Test a representative pane, then confirm the result with the sizes and glass types that originally showed the problem.
A useful troubleshooting record is simple: where the water appeared, what was inspected, which single change was made and what happened next. That record will help operators solve the same glass washing machine drying problem more quickly if it returns.
For help selecting or troubleshooting a glass washing and drying machine, send JINJIYE your glass dimensions, glass type, required production speed and clear photos or videos of the problem.